Introduction
Lately I've been busy doing multiple projects without finishing any of them. Now is however time to start wrapping them up one by one. Otherwise I will never finish anything. :)
This summer I was once again very annoyed of my thermometer showing 45+ Celsius temperatures even though the highest recorded temperature in Finland is 37.2 degrees. Once again I thought about making some kind of shielding out of a plastic/metal can or a cup for the temperature sensor. I was quite confident that someone has already come up with a good design and shared it on the internet but it seems I was wrong.. I was unable to find a simple "make in 15 minutes" design but I found something even better. I found a proper design for a solar radiation shield that can be done at home within one evening. I've also learned the term Stevenson screen. I thought about this design for 15 seconds and decided to build one.

Design
My plan for this build was to look at the pictures of this "proper resign" and improvise the rest. And here's a step by step description of what I did.

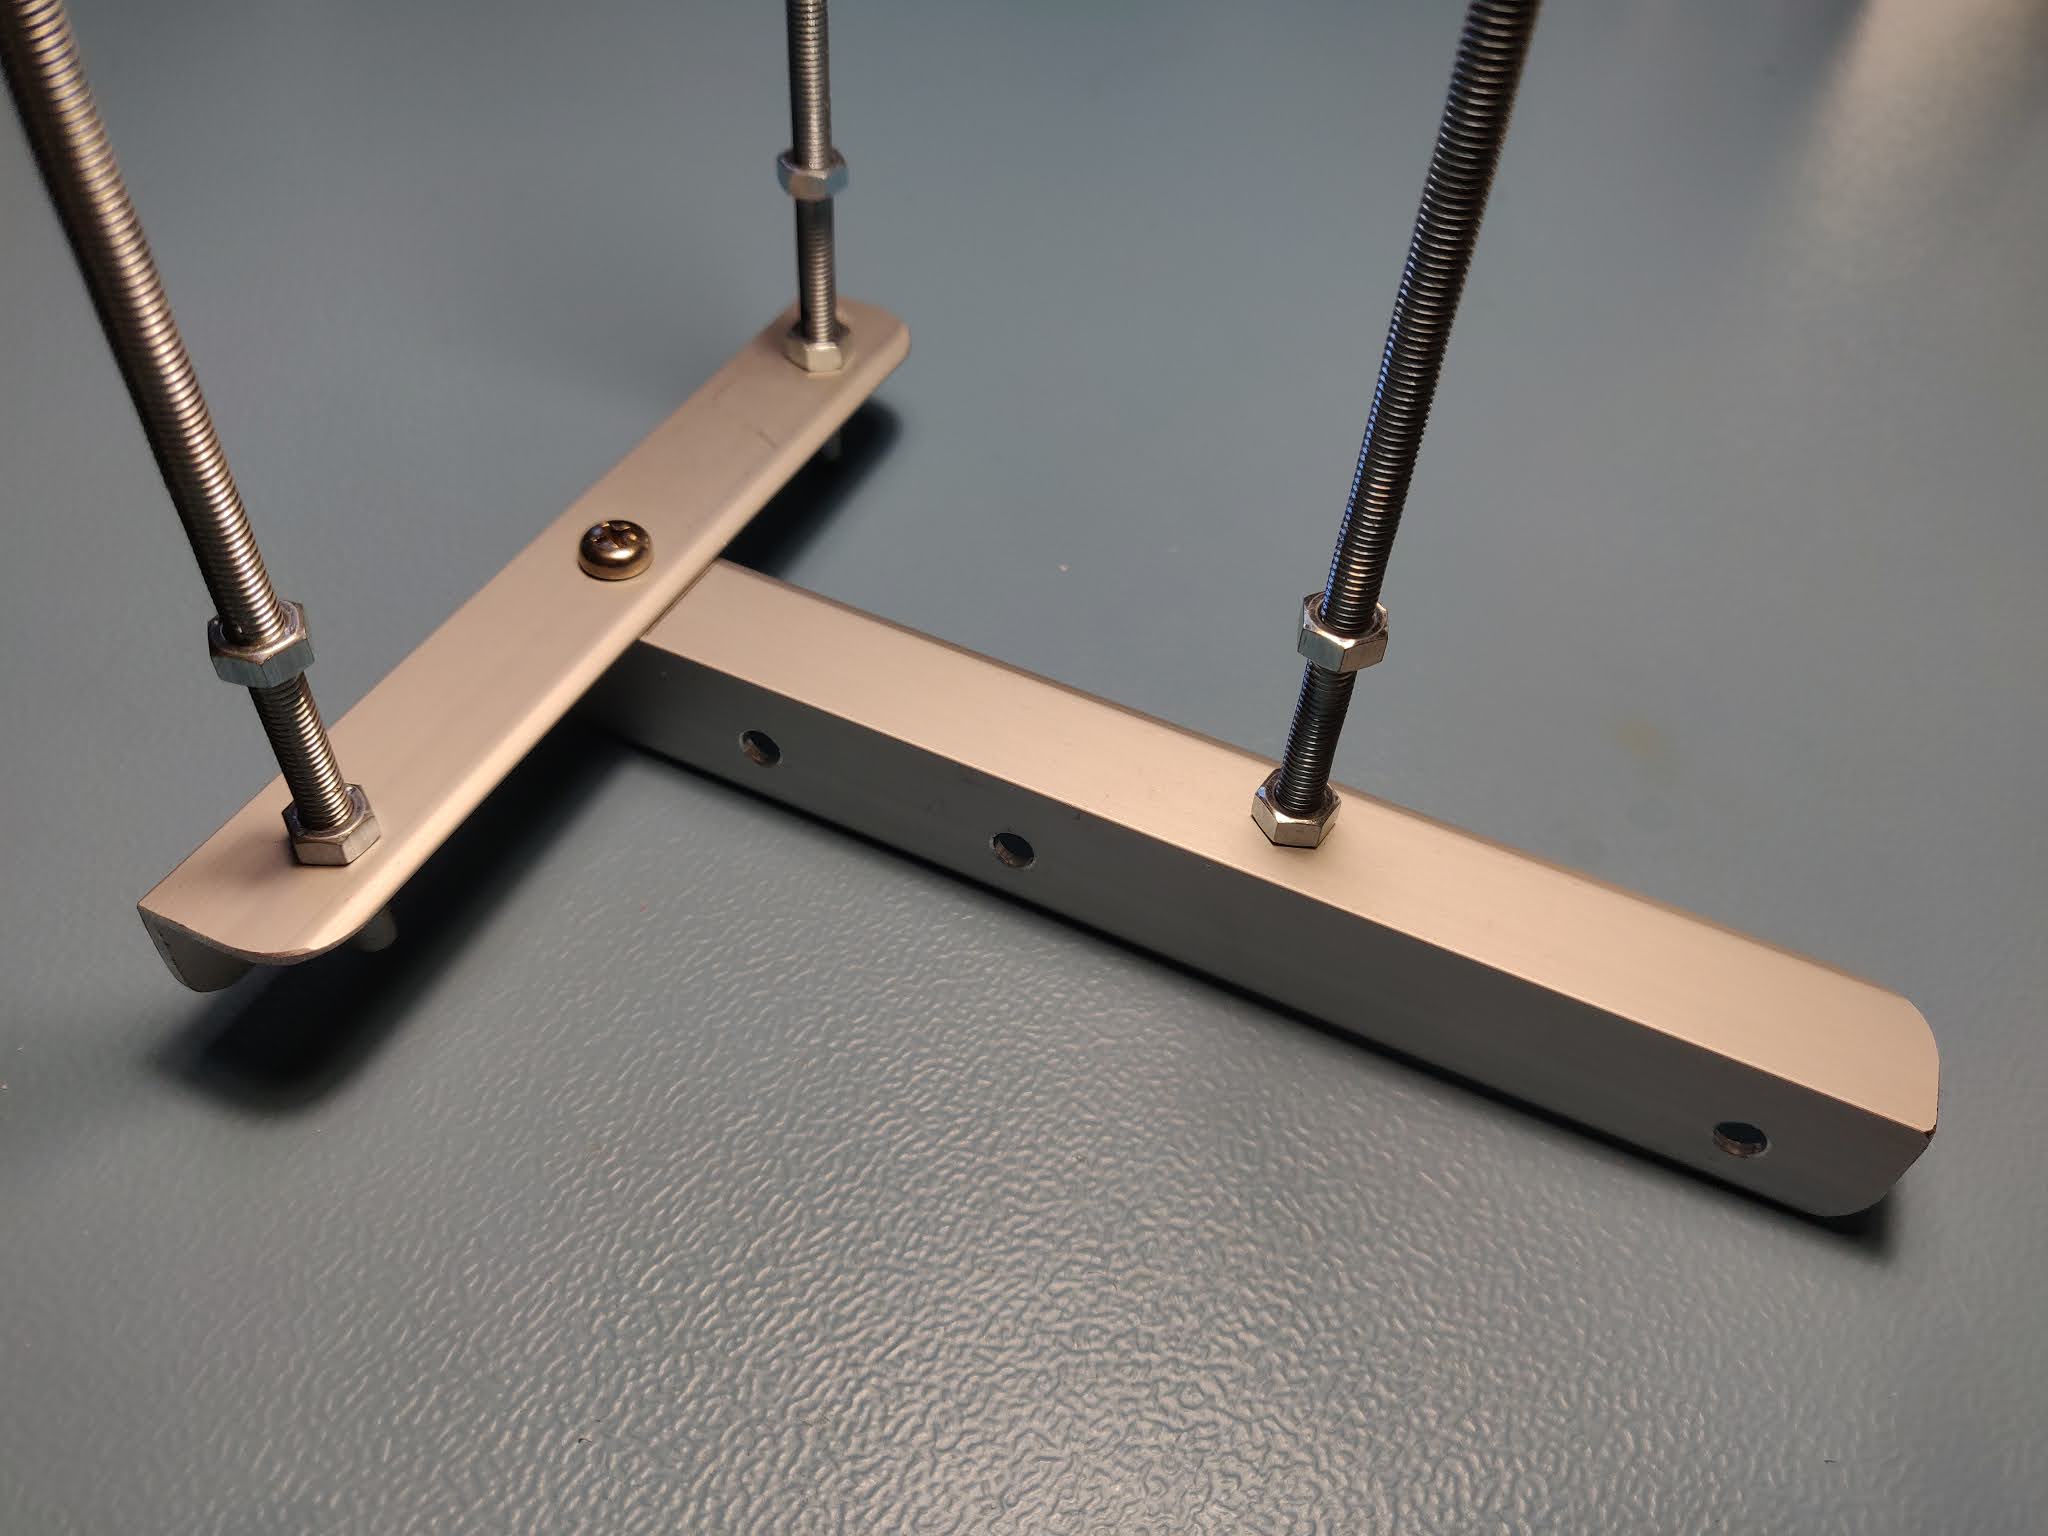
First I found suitable plates that are supposed to be used for the flower pots. I took the smallest ones that were 16 cm and cost 90 euro cent each. These plates are 2.5 cm high and I've decided to have them overlap each other for around 5 mm. Based on this I decided to buy 8 of these so that the result would be around 16 x 16.5 cm. Next I cut three 5 mm holes into all of the plates simply by piling them and drilling through the whole pile. For drilling I taped the pile together because the plates did not fit very tightly on top of each other and had the chance to move from side to side. After that I cut a bigger hole into seven of the plates. The bigger hole was made one plate at a time using a hole saw of some size. I never actually measured it but it was big enough for the sensors.

Result
I'm quite satisfied with the result. Even though there were some setbacks I managed to build the thing in two days and also install it. I don't consider it a finished project since the rods are too long and I would like to use the locking nuts. There was some other minor mistake also but that's quite irrelevant. The most annoying thing is that I was unable to build this in the summer and at this time of the year it doesn't affect much anymore. So I will have to wait until the next summer to see the effect of this solar radiation shield. The aforementioned modifications shall also wait until the next summer. Next summer we can also see how these plastic plates can handle the winter. Another problem is that it's installed on the balcony, so it's not exactly in open air.
Final words
Unfortunately none of the sensors I've left in the shield do any logging. I have another home made device that actually logs the temperature, but it has a wired sensor that I didn't want to install in this shield. I've also thought about buying/making a device for measuring wind speed but again the thing is not in the open air, so probably it won't work so well. I have however thought about using the accelerometer to estimate the wind speed. One of the installed sensors happens to be a Ruuvitag that has an accelerometer and the sensors are hanging freely from the thread.. So theoretically that would be possible and most definitely stupid. However these kind of tests and logging support are a topic for another time.
ps. The Ruuvitag itself does not do logging. The Android app can receive the temperature in the background and show a graph of 24 hours, but that's not exactly logging. Additionally the background logging doesn't seem to work well. It might be related to Androids energy saving settings but I just don't want to touch them. There's an option however to use the phone as a gateway to send the data to some server, but that's just very much not what I want to have. Even if it could be set up within 15 minutes.


